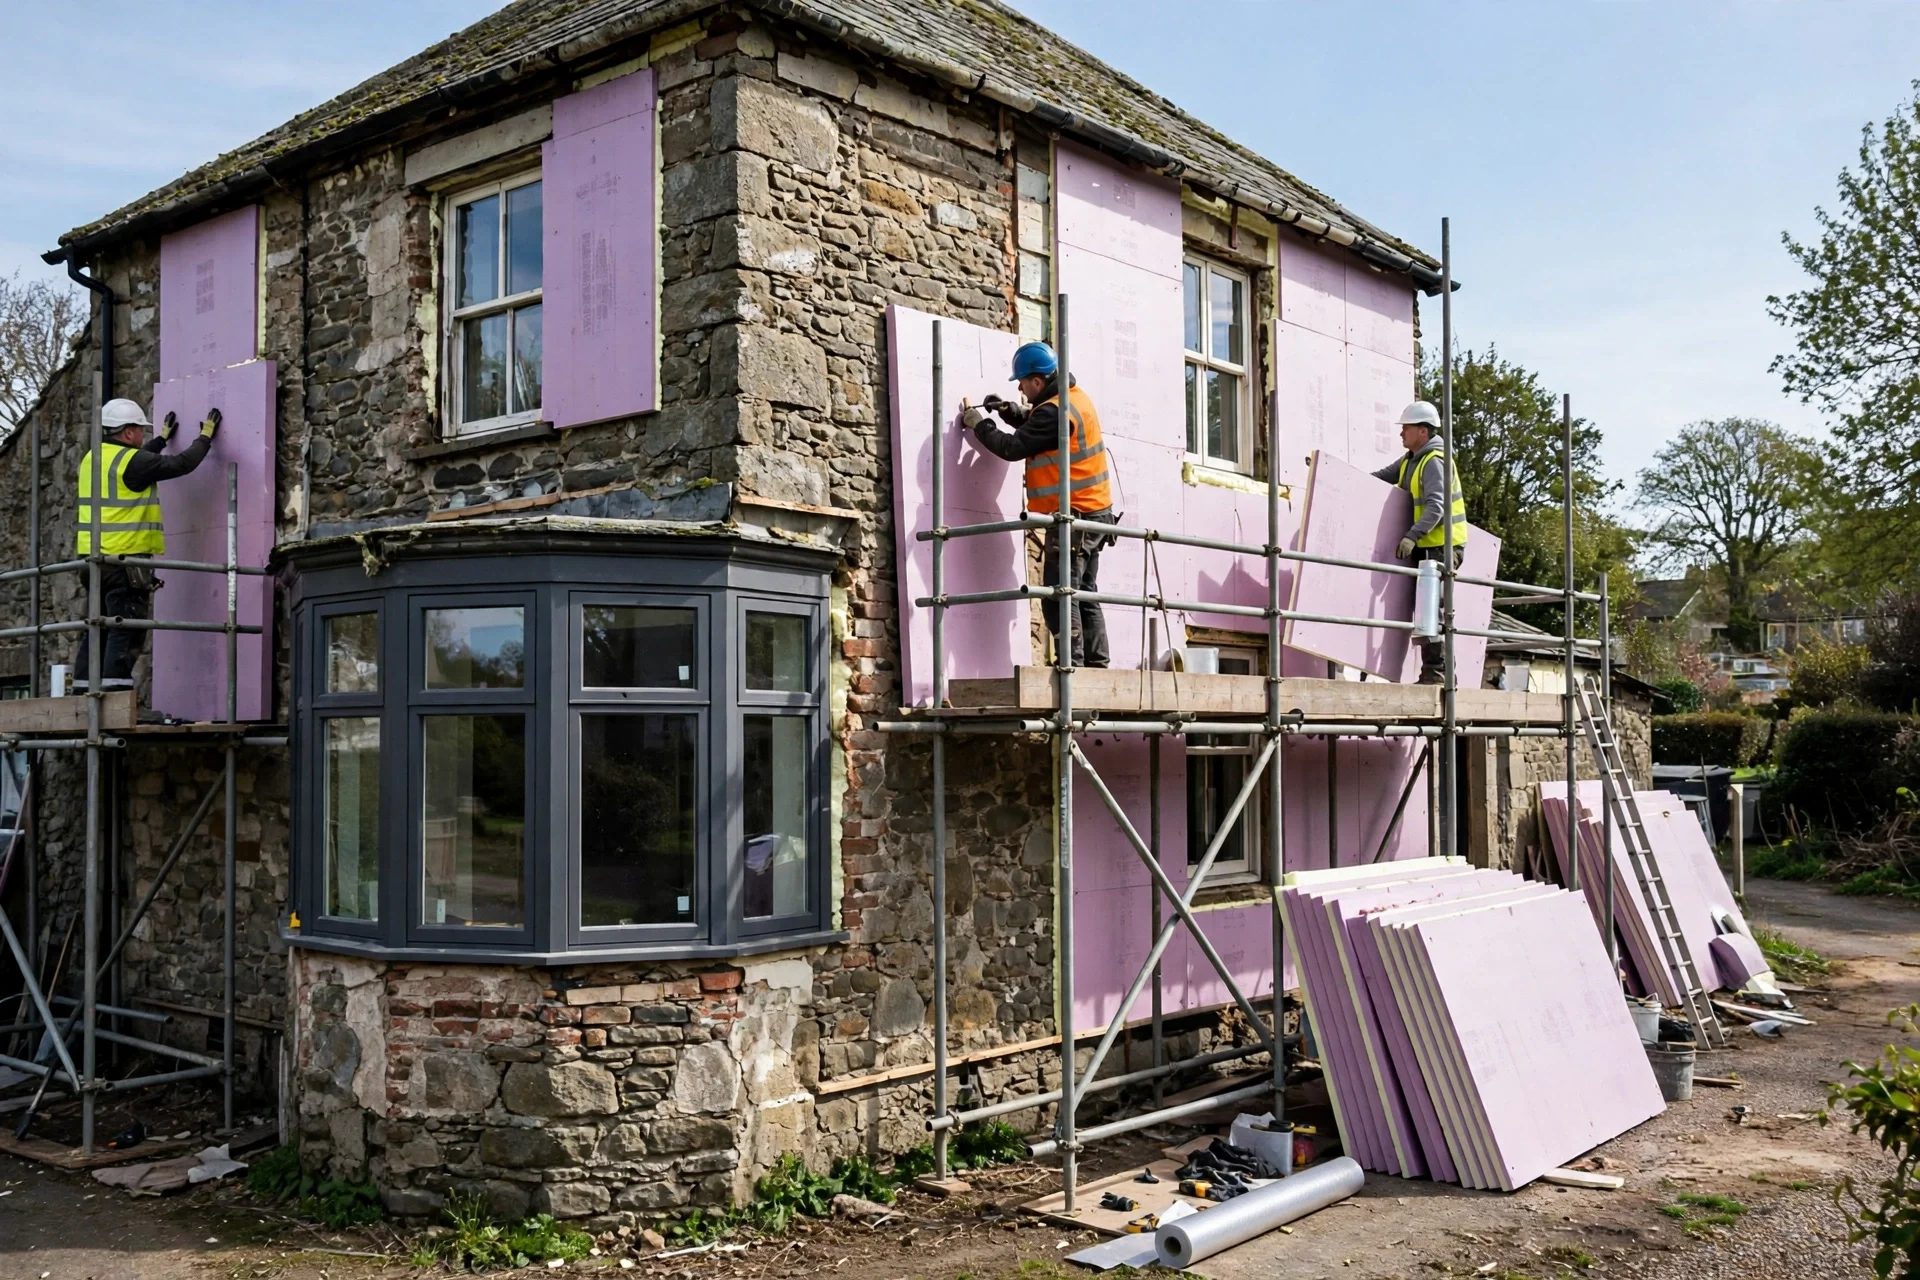
How to Install Modular Exterior Insulation Panels Around Irregular Residential Building Facades
Why Irregular Facades Defeat Standard Insulation Approaches
Most houses are not flat. Bay windows step out from the wall, old masonry bows between floors, corners drift out of plumb, and extensions meet the original house at slightly different angles. Standard exterior insulation assumes a flat, true substrate, so rigid boards bridge across hollows, leave air gaps behind them and crack at the joints when the wall moves. Those gaps become cold bridges and moisture traps, and the insulation performs far below its rated value. On an irregular facade, the installation method matters as much as the insulation material itself.
Modular exterior insulation panels solve this by breaking the facade into factory-made units that can be adjusted, shimmed and trimmed to the wall as it actually stands. Each panel carries its own insulation layer and finish, and the fixing system absorbs the wall’s unevenness instead of fighting it. The result is a continuous insulated skin over a facade that would defeat a board-and-render system, installed faster and with more predictable thermal performance.
What Makes a Modular Panel System Different From Stick-Built Insulation
A stick-built system assembles insulation on the wall piece by piece: boards glued and pinned, mesh and render applied in wet layers, each step dependent on weather and the skill of the crew that day. A modular panel system moves most of that work into the factory. Panels arrive with the insulation bonded to a facing, edges pre-formed, and fixings designed to slot into a rail or bracket system. On site, the crew’s job is measurement, levelling and fixing, not manufacturing. That shift is what makes modular systems suited to irregular facades, because adjustment happens at the fixing points rather than in the insulation layer itself.
- Factory bonding: insulation and facing are joined under controlled conditions, so delamination is rare.
- Adjustable fixings: brackets and rails absorb several centimetres of wall deviation without packing the insulation.
- Dry installation: no wet render curing, so work continues in cold or damp weather.
- Repeatable joints: pre-formed panel edges give consistent gaps for sealing and trim.
Reading an Irregular Facade: Surveying Bays, Curves and Off-Plumb Walls Before Ordering Panels
No panel should be ordered before the facade has been measured properly. A proper survey starts with a long straightedge and a level run across every elevation, marking where the wall bows in or out and by how much. String lines stretched between corners reveal the true plane, and a laser level shows whether floors and window heads sit level. Photograph every bay, arch, corbel and protrusion, and measure each one twice. The survey should record the maximum deviation on each elevation, because that number decides the depth of the subframe and the length of the fixings.
Pay special attention to junctions. The meeting point between an extension and the original house, the head of a bay window, and the eaves line are where irregularities concentrate and where panels are hardest to fit. Note the condition of the substrate too: loose render, spalled brick and soft mortar must be repaired before panels go on, since no fixing system can compensate for a wall that is falling apart. A thorough survey takes a day and saves weeks of on-site improvisation.
Panel Materials for Irregular Facades: Rigid Foam, Mineral Wool and Vacuum Cores Compared
The panel core decides thermal performance, weight and fire behaviour, and the choice is rarely obvious on an irregular facade. Rigid foam boards give the highest insulation per centimetre, which matters when a deep subframe already pushes the finished face outward. Mineral wool is heavier and thicker for the same performance, but it is non-combustible, breathes, and absorbs sound, which suits older masonry that needs to dry. Vacuum insulated panels offer extreme performance in a slim profile, but they cannot be cut on site, which makes them a poor fit for the trimming and scribing that irregular facades demand.
| Core material | Insulation per thickness | Fire behaviour | Suitability for irregular facades |
|---|---|---|---|
| Rigid foam (EPS or XPS) | High, thin build-up | Combustible, needs fire breaks | Good, easy to cut and shape |
| Mineral wool | Moderate, thicker build-up | Non-combustible | Good, tolerates uneven substrates |
| Vacuum insulated panel | Very high, very slim | Varies by facing | Poor, cannot be cut on site |
| Phenolic foam | Very high, thin build-up | Good fire performance | Fair, brittle edges need care |
Adjustable Subframes and Furring Systems That Absorb Facade Irregularities
The subframe is the real hero of a modular installation on an irregular wall. Adjustable brackets fixed to the substrate carry horizontal or vertical rails, and each bracket can be wound in or out to bring the rail into a true plane regardless of what the wall does behind it. On a wall that bows out by three centimetres in the middle, the brackets at the edges simply extend further, and the rails stay straight. Panels then fix to the rails, not to the wall, so the finished face is flat even though the substrate is not.
Choose the bracket system before choosing the panel. Helping hands brackets with slotted holes suit light panels on masonry, while heavy-duty adjustable rails are needed for stone or fibre-cement facings. The cavity between the rail and the wall also becomes the ventilation and drainage zone, so it must stay clear and open at the bottom. Thermal bridging through metal brackets is real, so look for thermally broken brackets or plastic spacers where the system offers them, and keep the number of fixings to the manufacturer’s minimum rather than adding extras for comfort.
Cutting, Scribing and Fitting Panels Around Bays, Arches and Protrusions
Irregular facades force cutting, and cutting well is a craft. Straight cuts are made with a fine-toothed saw or a track saw, while curves and scribes are marked with a compass or a profile gauge pressed against the wall, then transferred to the panel and cut with a jigsaw. Always cut with the finished face up and supported, so the facing does not chip. Cut panels should be sealed at the exposed edge with the manufacturer’s edge sealant, because an open foam core absorbs water and an open mineral wool core sheds fibres.
- Scribe, do not guess: transfer the wall profile to the panel with a compass for a gap-free fit.
- Cut from the face side: keeps the visible edge clean and prevents the facing from tearing.
- Seal every cut edge: exposed cores absorb water and lose insulation value.
- Dry-fit before fixing: hold each cut panel in place and check the joint before driving any fixings.
Sealing Panel Joints Against Wind-Driven Rain on Uneven Walls
On a flat wall, panel joints are uniform and easy to seal. On an irregular facade, joint widths vary as panels step around bows and bays, and a rigid sealant that works in a three-millimetre gap will fail in an eight-millimetre one. The answer is to design the joint for movement: a compressible foam backer rod sized to the gap, with a compatible sealant over it, accommodates both width variation and thermal movement. Where the system offers a drained and ventilated joint with a cover strip, use it, because it sheds water even if the sealant ages.
| Joint condition | Sealing approach | What to avoid |
|---|---|---|
| Uniform narrow gap | Backer rod plus gun-grade sealant | Overfilling, which cracks as panels move |
| Varying wide gap | Compressible foam tape plus sealant | Rigid filler that cannot flex |
| Around bays and corners | Pre-formed corner trims with sealant | Butt joints with no cover strip |
| At base and head | Drip flashing with open drainage | Sealing the drainage path shut |
Flashing and Trim Details Where Modular Panels Meet Windows and Corners
Windows are where most modular facade failures begin. A panel system that wraps a window reveal badly will leak, and the leak will show up inside long after the installer has left. The reveal should be lined with insulated trim or a purpose-made reveal panel, the head must have a flashing that throws water clear of the panel face, and the sill needs a drip edge with a fall away from the wall. Sealant alone is not a flashing detail. At corners, pre-formed corner panels or trims give a clean, weatherproof turn, while site-cut mitres on irregular corners rarely stay tight.
Sequence matters. Set the window flashings and sill details before the surrounding panels go on, not after, so each layer laps over the one below it like roof tiles. Check every opening with a hose test before the trims are finished, because finding a leak after the trims are sealed means taking work apart. On older homes, also check that the window frames themselves are sound; sealing a new panel system around a rotten frame only hides the problem.
Structural Checks and Fire Rules Before You Fix Panels to an Older Wall
Panels add weight and wind load to a wall that may be a century old. Before fixing anything, confirm the substrate can carry the system: pull tests on sample fixings show whether the masonry holds, and a structural engineer should review the results if the wall is soft brick, cob or a timber frame with unknown infill. Heavy stone or fibre-cement facings need more fixings and stronger brackets than light foam-and-render panels, and the fixing pattern must follow the manufacturer’s wind load calculations for your exposure, not a guess made on site.
- Pull-test fixings on the actual wall before ordering the full system.
- Check fire regulations for your building height and use; some cores need fire breaks at each floor.
- Keep panels clear of flues, vents and boiler terminals unless the system allows it.
- Confirm the wall can carry the added weight, including wet render or stone facings.
Fire rules deserve particular care. Combustible cores are restricted on taller buildings and near boundaries in many jurisdictions, and fire barriers are often required at floor levels and around openings. These rules change by location and building type, so verify the current local requirements with the building authority rather than relying on a supplier’s general guidance. Getting this wrong can mean removing the whole installation.
Modular Insulation Panel FAQs for Irregular Facades
Can modular panels fix a wall that is badly out of plumb?
Yes, within limits. Adjustable brackets can absorb several centimetres of deviation, but a wall that leans badly or is structurally unsound needs repair first. The survey should measure the maximum deviation, and the bracket system must be specified to cover it with margin to spare.
Do modular panels work on curved facades?
They can, with narrow panels or faceted layouts that approximate the curve in short straight runs. True curves need either flexible facing materials or purpose-made curved panels, so discuss the radius with the manufacturer before assuming standard panels will bend.
How thick will the finished wall become?
It depends on the insulation thickness, the subframe depth needed to absorb the wall’s unevenness, and the facing. A typical retrofit adds roughly ten to twenty centimetres, and irregular walls sit at the thicker end because the subframe must bridge the worst deviation.
Will the panels trap moisture in my old masonry walls?
Not if the system is ventilated and detailed correctly. A drained cavity behind the panels lets the wall dry, and vapour-open cores such as mineral wool suit older masonry better than sealed foam. The risk comes from sealing the base or the joints so tightly that water cannot escape.
Can I install modular panels myself?
A skilled DIYer can handle small, regular elevations, but irregular facades need surveying, structural checks and flashing details that are best left to an experienced installer. Mistakes in fixing or sealing are expensive to correct once panels are up, so professional installation is usually the safer choice.
How long does a modular panel installation last?
A well-installed system commonly lasts several decades, with the facing and the fixings usually outliving the sealants. Plan on inspecting and renewing joint sealant every ten to fifteen years, and keep the base drainage clear so water never stands against the panels.
A Straight Answer on Modular Panels for Irregular Residential Facades
Modular panels earn their keep on irregular facades because they move the hard work from the wall to the fixing system. Survey the wall honestly, choose the bracket depth from the worst deviation rather than the average, pick a core you can cut on site, and spend real care on windows, corners and joints. Done that way, a facade that would defeat conventional insulation becomes a flat, dry, well-insulated face, and the house gains comfort and lower bills without losing its character. Done carelessly, the same panels hide leaks and cold bridges behind a neat surface, so the survey and the details are where the job is won.